
Language switcher in the menu
Out of the box, visitors switch language with a small floating switcher in the corner of the screen. Many sites would rather have it in the menu bar, where visitors already look for navigation. You add it like any other menu link: it shows the current language, and the other languages appear when visitors hover it.
Steps
-
In WordPress, go to Appearance → Menus and open the menu your site shows in its header.
-
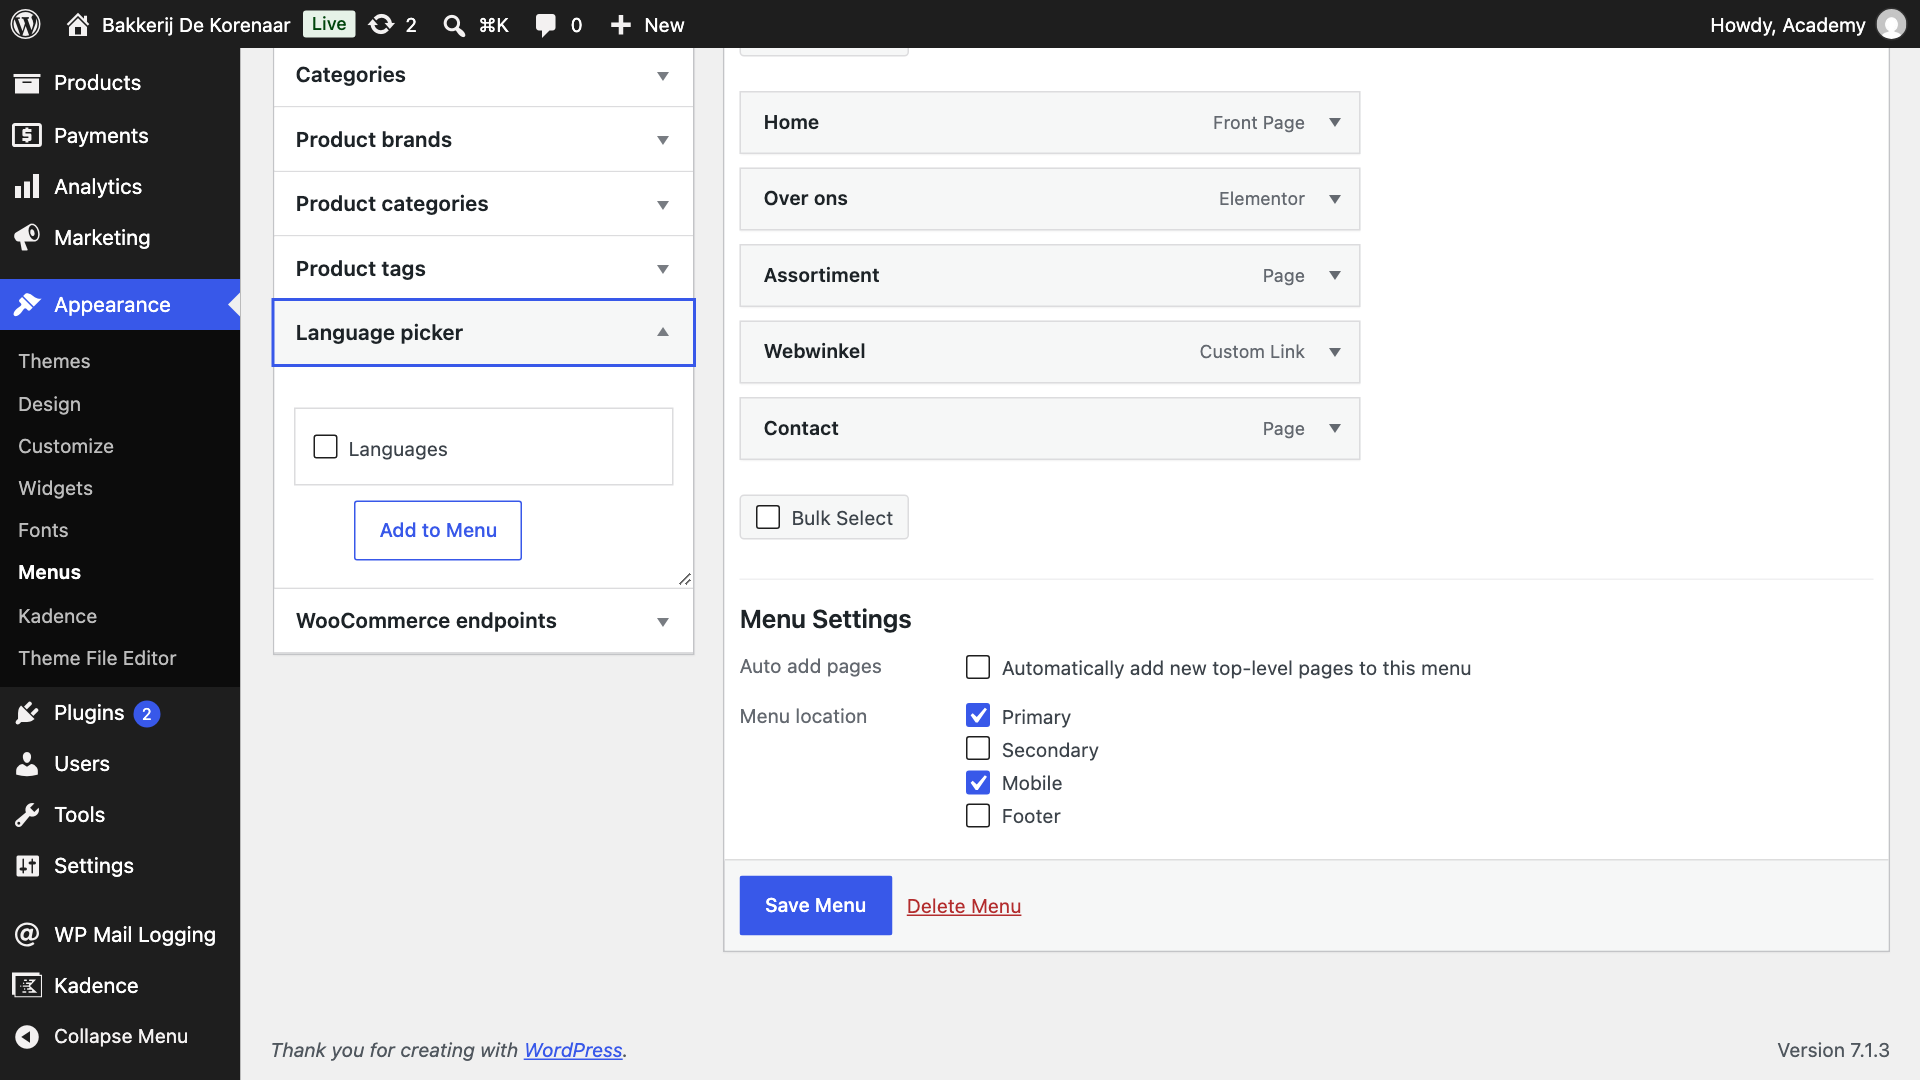
On the left, open the Language picker box.
-
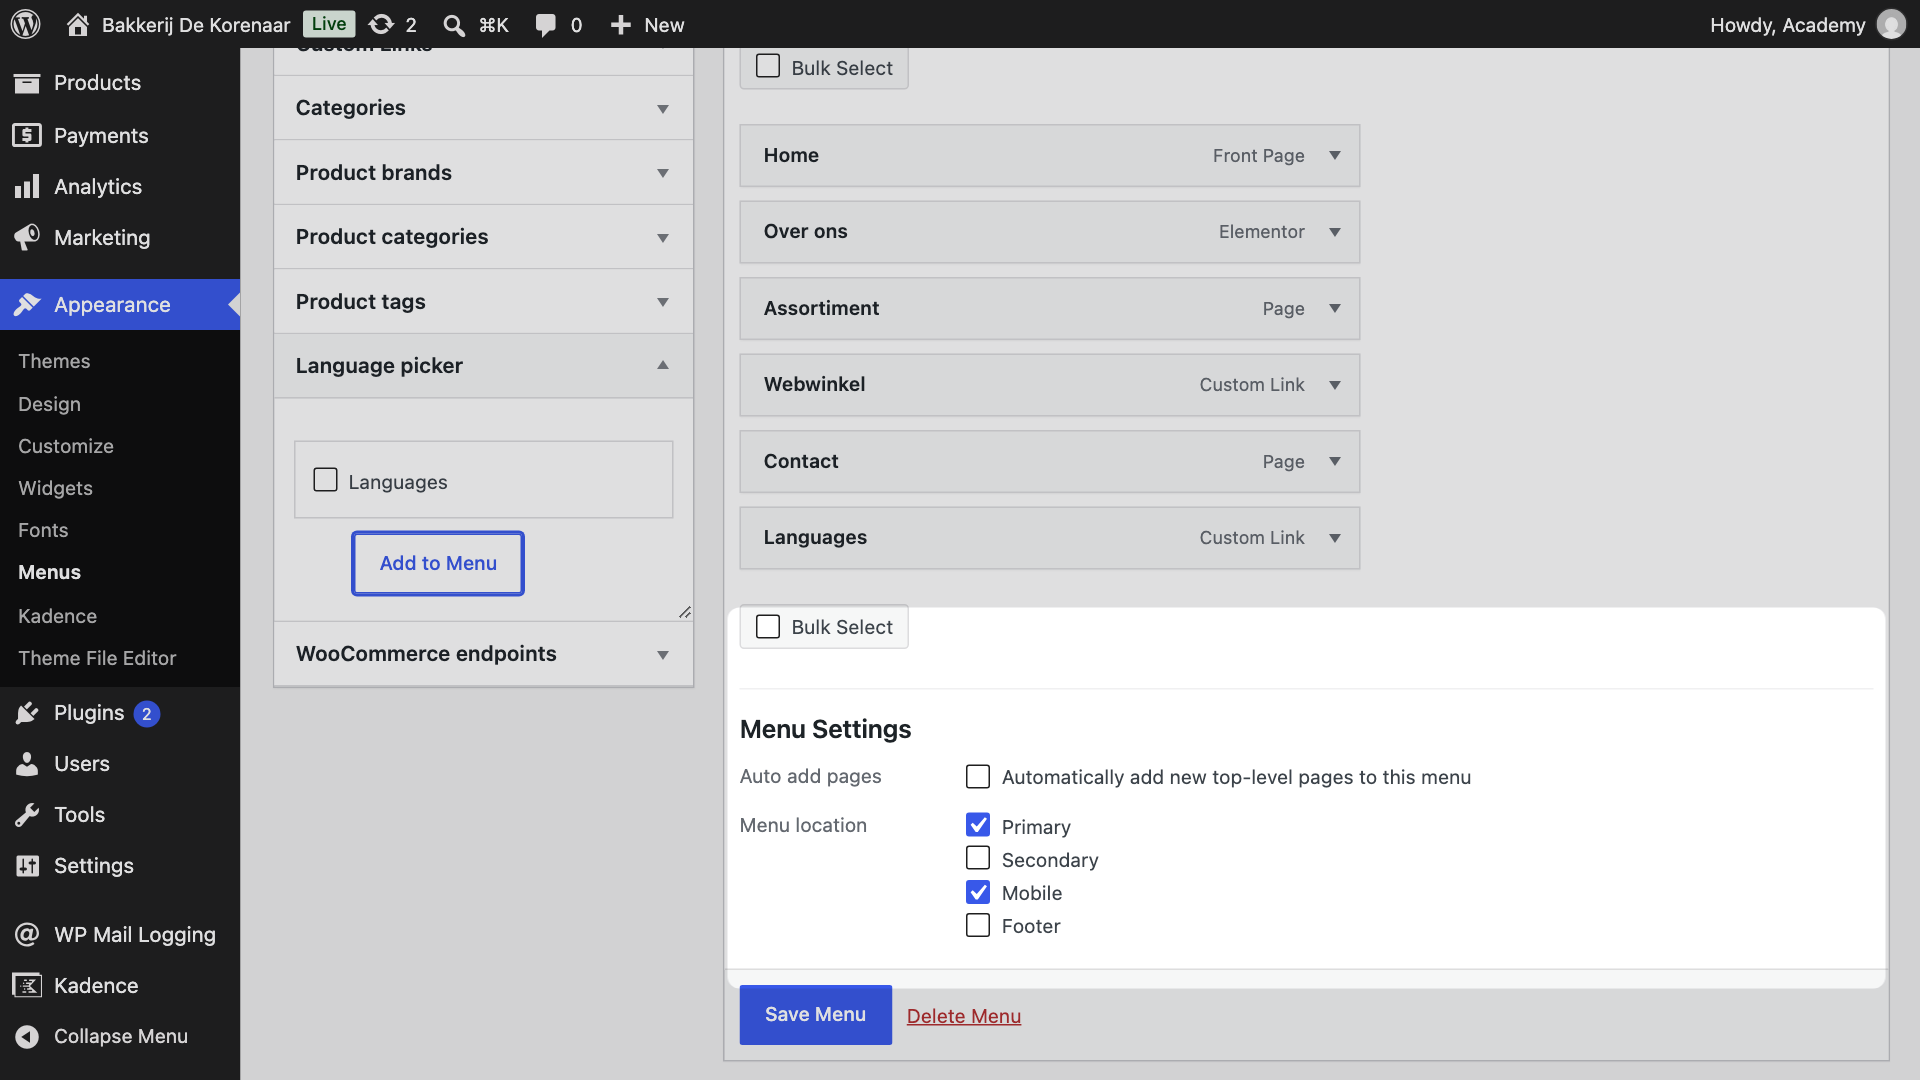
Tick Languages and click Add to Menu. The item is added at the end of the menu; drag it to where you want it.
-
Click Save Menu.
-
Open your site: the menu shows the current language, and hovering it shows the others.
Good to know
- The floating switcher steps aside. It only shows when no other switcher is on the page, so once the menu has one, the corner switcher disappears by itself.
- Flags and names follow your choice under WP Provider Translate → Settings → Language picker (flag, full name or code).
- Only languages the page exists in are listed. If a page is not available in a language yet, that language is left out of the menu on that page.
- Using a block theme? Block themes have no Appearance → Menus. Add the Language picker block to your header in the Site Editor instead.
Troubleshooting
- I don’t see the Language picker box. Click Screen Options at the top right of the Menus screen and tick Language picker.
- The switcher doesn’t appear on my site. Check that the menu you edited is the one in your header: under Menu Settings, the right display location must be ticked (or use the Manage Locations tab). If you use a caching plugin, clear its cache.
For developers
- The menu item is a custom link to
#wpprovider_picker; on the site it becomes an item with the classwppt-menu-picker, and each other language is a sub-item with the classwppt-menu-picker-language, for styling. - Language links carry
hreflangandlangattributes.